試しに作ったアニメが認識はするが動かないという状況でして
公式スレッドで聞いてみたら「これから作り方のドキュメント作るわー」との事ですのでそれが出来るまで他の事をします
というわけでtextureを仕上げます
faceRig Texture Maps纏め
一々Import Wizardを通して再起動させるのもメンドクサイので
faceRigを起動させたままフォルダー内のテクスチャーを置き換えます
フォルダーの場所はSteamLibrary\steamapps\common\FaceRig\Mod\VP\PC_CustomData\Objects\アバター名
置き換えてからアバターを選択し直せば反映されます
ヤマネコさんの基本として使っているsht_metalclothシェーダー用のテクスチャを揃えます
要素は以下
diffuse("d")
normal("b")
normal("b1")
normal("b2")
normal("b3")
normal("b4")
specular("s")
specular2("s2")
anbient occlusion("ao")
colorize mask("cm")
1.diffuse "d"
通常のdiffuse textureです

2.normal "b"
通常のnormal mapです

3.normal "b1","b2","b3","b4"
animated normalsに使われるそうですが今回は使いません
4.specular "s"
faceRig独自形式のspecular mapです
RGB各チャンネルとAlpha別々に使います
Red
channel gives information about the Glossiness factor >1 for rough surfaces 255 for shiny ones.
Between 1 to 5 for rough surfaces, 5 to 12 for a very little shine and increasingly shiner towards 255.
光沢の設定値で数値が高いほど強くなります、と書いてあるように読めるんですが
影の部分にだけ働く光・環境光のような挙動をし、数値が低いほど強くなります

50%に近くなると効果が目に見えなくなります

光らせたくない所の数値を高くしました

Green
used to set values for different materials,from 0 for hair and cloth,to 255 for other material types(metal,plastic,etc).
数値が低いほど光の影響が強くなるようです

マテリアルがなんちゃらとかの記述は何なんでしょうか
ほどほどに抑えました

Blue
used to specify areas of object that remains unaffected by lighting resulting in a light emitting effect when placed in the shadow (glow in the dark effect), 0 for non emissive and 255 for full emissivity.
光の影響の強さです
数値が高いほど影が薄くなります

表記の無い部分は50%
ヤマネコさんにはあまり影を落としたく無いので高めにしました

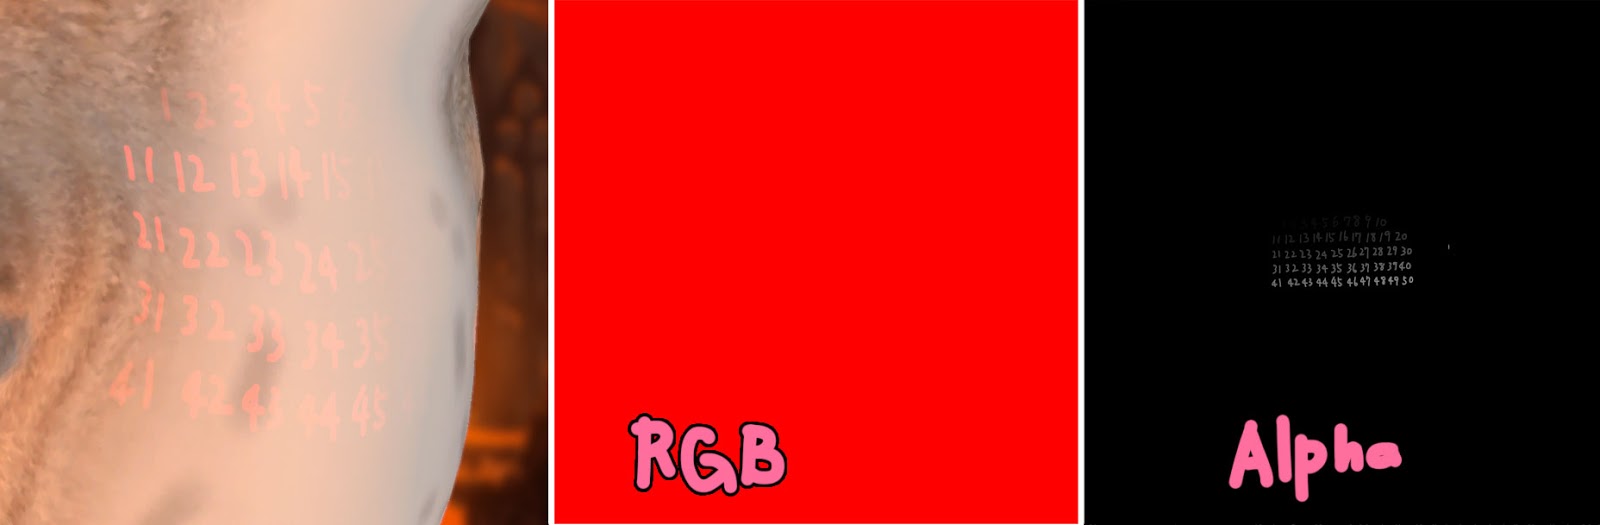
最終的にR/G/B各レイヤーはレイヤーモードを除外にして重ねて保存します

Alpha
gives information about the Specular Power 0 for no specular 255 full specular.
光沢の強さで数値が高いほど強くなります、と読めますが
光が当たっている部分では余り変化は無く、影になる部分の挙動に影響するようです

emissive同様高めにしました

必要なレイヤーを複製・結合し
Ctr + Aで全体を選択してCtr + Cでコピー
Alpha チャンネルを選択してCtr + Vでペーストです
マニュアルの記述と実際の効果が違う気がするんですけど私が英語noobだからでしょうかね?
5.specular2 "s2"
マニュアルに詳細無し
追加のspecular mapで光沢に色を付けられます
光沢の出方は"s"の設定値に依存しているようです
下は"s2"のテクスチャはそのままに"s"のAlphaを変更した物

明度に関係なく色相・彩度を反映するので
「一見黒く見えるけど彩度持ち」でもお構い無しに色を付けてくれます

Alphaチャンネルが適応率に対応しているようですが0の無効以外はあまり違いがわかりません


1-10%ぐらいは変化があるようなないような
鼻と肉球に少し赤みをいれてAlphaはRGBをそのままコピーしました

1.diffuse "d"
通常のdiffuse textureです

2.normal "b"
通常のnormal mapです

3.normal "b1","b2","b3","b4"
animated normalsに使われるそうですが今回は使いません
4.specular "s"
faceRig独自形式のspecular mapです
RGB各チャンネルとAlpha別々に使います
Red
channel gives information about the Glossiness factor >1 for rough surfaces 255 for shiny ones.
Between 1 to 5 for rough surfaces, 5 to 12 for a very little shine and increasingly shiner towards 255.
光沢の設定値で数値が高いほど強くなります、と書いてあるように読めるんですが
影の部分にだけ働く光・環境光のような挙動をし、数値が低いほど強くなります

50%に近くなると効果が目に見えなくなります

光らせたくない所の数値を高くしました

Green
used to set values for different materials,from 0 for hair and cloth,to 255 for other material types(metal,plastic,etc).
数値が低いほど光の影響が強くなるようです

マテリアルがなんちゃらとかの記述は何なんでしょうか
ほどほどに抑えました

Blue
used to specify areas of object that remains unaffected by lighting resulting in a light emitting effect when placed in the shadow (glow in the dark effect), 0 for non emissive and 255 for full emissivity.
光の影響の強さです
数値が高いほど影が薄くなります

表記の無い部分は50%
ヤマネコさんにはあまり影を落としたく無いので高めにしました

最終的にR/G/B各レイヤーはレイヤーモードを除外にして重ねて保存します

Alpha
gives information about the Specular Power 0 for no specular 255 full specular.
光沢の強さで数値が高いほど強くなります、と読めますが
光が当たっている部分では余り変化は無く、影になる部分の挙動に影響するようです

emissive同様高めにしました

必要なレイヤーを複製・結合し
Ctr + Aで全体を選択してCtr + Cでコピー
Alpha チャンネルを選択してCtr + Vでペーストです
マニュアルの記述と実際の効果が違う気がするんですけど私が英語noobだからでしょうかね?
5.specular2 "s2"
マニュアルに詳細無し
追加のspecular mapで光沢に色を付けられます
光沢の出方は"s"の設定値に依存しているようです
下は"s2"のテクスチャはそのままに"s"のAlphaを変更した物

明度に関係なく色相・彩度を反映するので
「一見黒く見えるけど彩度持ち」でもお構い無しに色を付けてくれます

Alphaチャンネルが適応率に対応しているようですが0の無効以外はあまり違いがわかりません

1-10%ぐらいは変化があるようなないような
鼻と肉球に少し赤みをいれてAlphaはRGBをそのままコピーしました

6.anbient occlusion("ao")
通常のAOだと思いますが今回は使いません
通常のAOだと思いますが今回は使いません
7.colorize mask("cm")
アバターの色変更の設定に使います
今回は使いません
一通り揃えてこうなりました

肉球の質感は良いのですが全体的にヌメり気が足りてません
が、ひとまずコレでいきます
いい方法を思いついたら手直しします
アバターの色変更の設定に使います
今回は使いません
一通り揃えてこうなりました

肉球の質感は良いのですが全体的にヌメり気が足りてません
が、ひとまずコレでいきます
いい方法を思いついたら手直しします
0 件のコメント:
コメントを投稿